Wednesday, October 15, 2014

Halloween Center Piece

Here's my Halloween center piece I created for my blog challenge on Facebook. There's a link below to the challenge. I started with a Pumpkins call "Funkins" I picked up from JoAnn's crafts. The pictures below will give you an idea of how easy and fun this center piece was to do. Once I carved out the openings I lined the inside with black card stock and added the Creepy cloth. I created a table, a bookcase and a few creepy decorations for the inside. To give it that spooky feel I added little tea lights that flicker to the inside. The base is an 11" x 14" canvas covered with foam, card stock and more creepy cloth. Add a few spooky characters, a fence and there you have it a spooktacular center piece.

Also check out my video on Youtube click here...........  Halloween Center Piece


There's a small surprise something in one of the pictures and for a clue of what it is come join my Facebook Challenge and find out what it is. Everyone is invited...
I love reading your comments. Thank you for peeking in on me.
Hugs, Laurie


Saturday, September 27, 2014

Autumnal Image Inspiration - OCC's September Challenge

Claudia Neubacher of Our Creative Corner has given us a beautiful collage photo to work with for the September Challenge. I love anything to do with nature. Thanks Claudia.

 This inspirational collage was just what I had in mind when I saw this photo of my daughter Alicia. She is my nature Girl. She lives with her husband Abe (the Forrester) and two beautiful children in their mountain home surrounded by nature. Awww the country life is sweet!
I went outside and gathered items from my own country home to add to this layout. A few small pinecones, green leaves from the Oregon Grape brush and lichens from a stump in the back yard. The curly twig looking branch running through the arrangement is a Prima vine that had flowers on it that I removed. This twig with it curly spirals reminded me of my daughters beautiful curls. I then added a few earthy toned metal flowers to set it off.
The background paper with it's distressed and curled edges is from KaiserCraft. The chipboard word says what I feel for this sweet girl "Adore". She is my heart.
Thank you visiting me. Check out http://ourcreativecorner6.blogspot.co.at/ for more great ideas and monthly challenges.
Hugs and best wishes,
Laurie Moore

Wednesday, September 10, 2014

Tin with Painted Patina


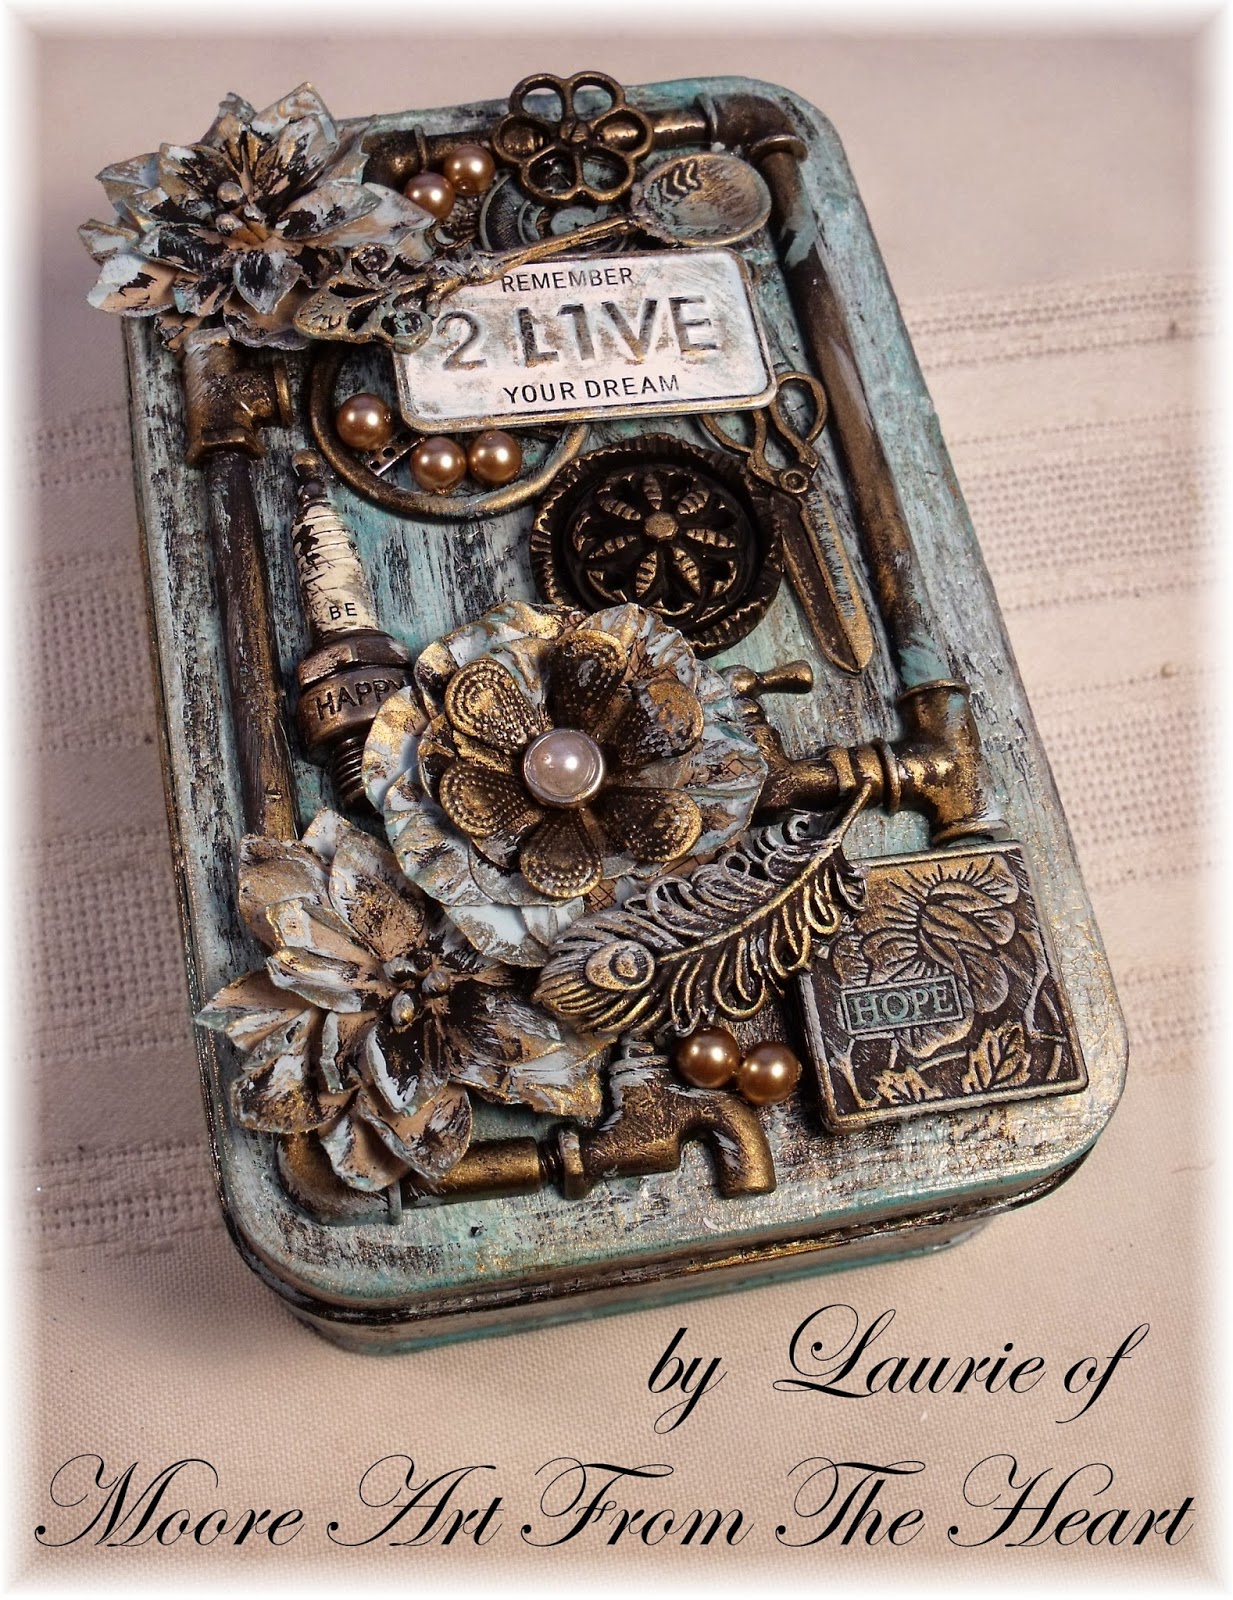
I love finding new way to decorate these little metal tins. This time I took a 3 1/2" x 5 1/2" two piece metal tin and created a patina aged look with gesso and paint. First I used black Gesso all over the tin inside and out.  I then took the acrylic paint in two tones of blue and blue green and mixed each color into gesso until I liked the way the colors looked. I painted on many layers with this mixture and then crackle paint in between the layers. Fun textured look don't you think?

The embellishments were painted in the same way. In the next step I went slightly over anything with gold rub n buff. The inside of the tin only had black Gesso and rub n buff. I also added paper that I distress and inked.


Thank you for peeking in,
Hugs from Laurie Moore

Check out the video on my Youtube channel for this project under the name "Tin with Painted Patina" https://www.youtube.com/user/MooreArtFromTheHeart

Also check for kits and other products in my Artfire store... http://www.artfire.com/ext/shop/studio/MooreArtFromTheHeart


Sunday, September 7, 2014

Sweet Hugs

This layout is of my two grand kids ages 3 and 4 years old. They had not seen each other in over a year and when they did they run to each other and hugged and hugged. It was so heart warming.
Here's a look at what I started with.....a 9" x 11" canvas, a mask and gesso. Then I used sprays from Dylusions and Mister Huey's to create a background.  With a stamp from Prima by Finnabair called Timbres transparents which I carry in my Artfire store, I add a little more contrast.


I took a few white flowers and used the same sprays to color the flowers. I then added layers of papers, a wooden fence, metal birdcage, leaves and for a special touch a birds nest and eggs for my two sweet chickadees, my grand-kids. . 


Thank you for peeking in on me again. Please check out my Artfire store for products used on this project and other ones. 
Please also check out my Youtube channel for more great ideas.
Hugs, Laurie


Sunday, August 24, 2014

Creative Blog Hop

I was invited to a Creative Blog Hop by Kirsten Hyde.  This hop is about sharing a little about myself and to share some other inspiring blogs of friends as well.
I found Kirsten and her work through Facebook when someone made a comment on one of her amazing projects. This whimsical project she created just took my breath away. I hopped over to her blog right away to get a closer look. She had created a card with a pop up plane for The European Scrap Battle contest. “A pop up airplane, how incredible is that!” I totally fell in love with her style, creativeness and from our chats, her friendly helpful nature. She’s a wonderful talented friend. Visit Kirsten blog and see what amazing things she is doing now.
So - What am I working on at the moment?
It is still summer here in Oregon and I’m busy with family activities a lot, so my crafting time is down to a few moments here and there but I am working on a few project for kits that I will be selling soon in my Artfire store. I truly enjoy creating things from scratch and seeing them come together the way I saw them in my mind.
  and here's a look at a past kit I did for my store......

 I recently did this canvas layout for a challenge my Aussie friend Janine Legg had during a gathering she put on with a fun group of friends in Australia. They had bought one of my kits to do that day and invited me by Skype to join in. Lots of fun. I love making friends all over the world.

   What do I make and what is my style?
I make things that challenge my creativeness and things that explore new techniques that I want to learn. To answer the question what is my style, well that is a hard one. There are so many styles I love to do. I am addicted to mix media projects. I love making vintage looking items and shabby chic things of pink, white and lace. Steampunk is a fun fascination for me and a chunky layouts with many layering and textures is always a favorite. Most of all creating 3-D items like the boat layout shown here and the Fairy house with a hidden drawer that holds an album are projects that truly give me joy, at this time away. I feel my style is always changing and growing.


       Why do I create what I do?
Crafting has always been a part of my life. When I was asked as a young child what I wanted to be when I grew up I would say "An Artist".  Whatever was the new thing to try in crafting I did it. I can’t imagine a life without creating with my hands and my heart. I love sharing what I've learned and teaching what I know.
     How does my creative process work?
Well don’t laugh but sometimes I wake in the middle of the night with an idea for a new project and I can’t go back to sleep until I get up and work on it. I see inspiration in lots of things around me like this wreath I have hanging in my house that inspired me to make a card with a heart wreath on it and the vintage chest kit is from an antique chest I own. Sometimes inspiration comes from the colors in the photos I’m using at the time, like in the layout entitled “My Girl” with browns and blues. I’m also big on having a theme or a sketch first. I gather up all the elements, papers and mediums I think I might use and often times something from these items will say “here’s what the project will center around”, like the birds nest and the feather in the layout “Sweet Hugs” of my two little chickadees, my sweet grand-kids.

I would also like to Introduce 3 friends and their blogs. These are three people who I find inspiring. Their post will begin on the 1st of Sept. 2014

Becky Colvin blog titled: Becky's Creative Scraps
Becky is a design team member for a few different stores and produces beautiful projects. Love her style of shabby chic and vintage goodness. I've known her for a while through Facebook and Youtube. She's truly a sweet person and is always helping others. Her work inspires me.

Carol Salisbury blog titled: Scrappy Dayz
Carol has recently joined a design team and enters challenges where she shows off her lovely talent. The altered paint brush she recently did for my challenge was a gorgeous combo of lace, flowers and textures.  She inspires me with not only with her beautiful work but her friendliness and kind personality.

Maryana Volkova blog titled: Love Milk Musya
I have recently found Maryana and her incredible work on Facebook. Her style of adding texture and her use of mediums is a lot like mine which I think is what appeals to me with her work. She has one talent that I envy the most and that is her photographic skills. Her eye for the subject matter and the way she captures it is amazing. She too is one who inspires me.
Thank you for stopping by and I enjoy reading your comments.

Monday, July 7, 2014

Two Beautiful Sweetheart Layout


Hi Everyone, Here's a look at my latest layout. I used some of the wonderful items I received in my Flying Unicorn kit of the month for July. What a delight this kit was with the tons of yummy goodies including scrapbook papers with my favorite color palette.... Pink, Black, Gray and Cream...Oh My!

And if that wasn't enough there was even more to this kit. Check out what I did with these goodies. The boat was really fun to play around with and I added it to my second project....the Friend-Ship. There is so much to this kit that I will be making many more things with it.
There's more pictures and the story behind the Friend-Ship layout/project on my previous post.

Check out the Flying Unicorn kits..... http://www.flyingunicornstore.com/
Link to the July 2014 kit....... http://www.flyingunicornstore.com/category_s/1356.htm

And here is my videos of both layouts...Two Beautiful Sweethearts
Friend-Ship

ALSO I'm so excited to say the Flying Unicorn featured my layout on Facebook...SWEETTTTT!!!
https://www.facebook.com/pages/Flying-Unicorn/120928447946596

Thanks for peeking in on me,
Hugs, Laurie


Wednesday, July 2, 2014

The Friend-Ship

Here's a look at a very special layout of a very special friend, my BFF Melissa. This layout was created with a kit from the Flying Unicorn's Kit of The Month for July 2014. What fun creating a scene with the row boat that came with the kit!
I started with the unfinished row boat. I knew I wanted it to look as though it had been sitting on the beach for a longtime. Still seaworthy and holding up, like the friendship I share with Melissa.
With a little paint and sand paper I achieved the look I was going for. I also took an unfinished wooden round ring and made a Life-preserver with the words "This Life Is Good" on it. You know our friends are the Life-preservers that keep us a float.... I know mine do.
I then took a 9"x12" flat canvas and a 12"x12"x 1'' canvas to create a base and back drop. With crumbled up brown paper, white paint and real sand added, the base was ready.

Next came the fun part adding all the embellishments. Beads, a fence, the boat, a few star fish and sand dollars like the ones Melissa and I collected that day on the beach.
               Great memories!  Good Times!
Now for the canvas layout. With texture, paper, paint and some sand the layout was ready to tell the story of the great friendship that we share and the adventures we go on. The small words under the title say it all.... Our Friendship Make Me Happy Everyday! Thank you Melissa for that.


Thank you all for stopping by. Please become a follower. Also check out the Flying Unicorn for great ideas and kits.
Thanks, Laurie Moore
Links...https://www.facebook.com/pages/Flying-Unicorn/120928447946596
Links....https://www.youtube.com/user/MooreArtFromTheHeart
Links....http://www.artfire.com/ext/shop/studio/MooreArtFromTheHeart
Links....https://www.facebook.com/mooreartfromtheheart


Sunday, May 18, 2014

Doll Stamps and Tags

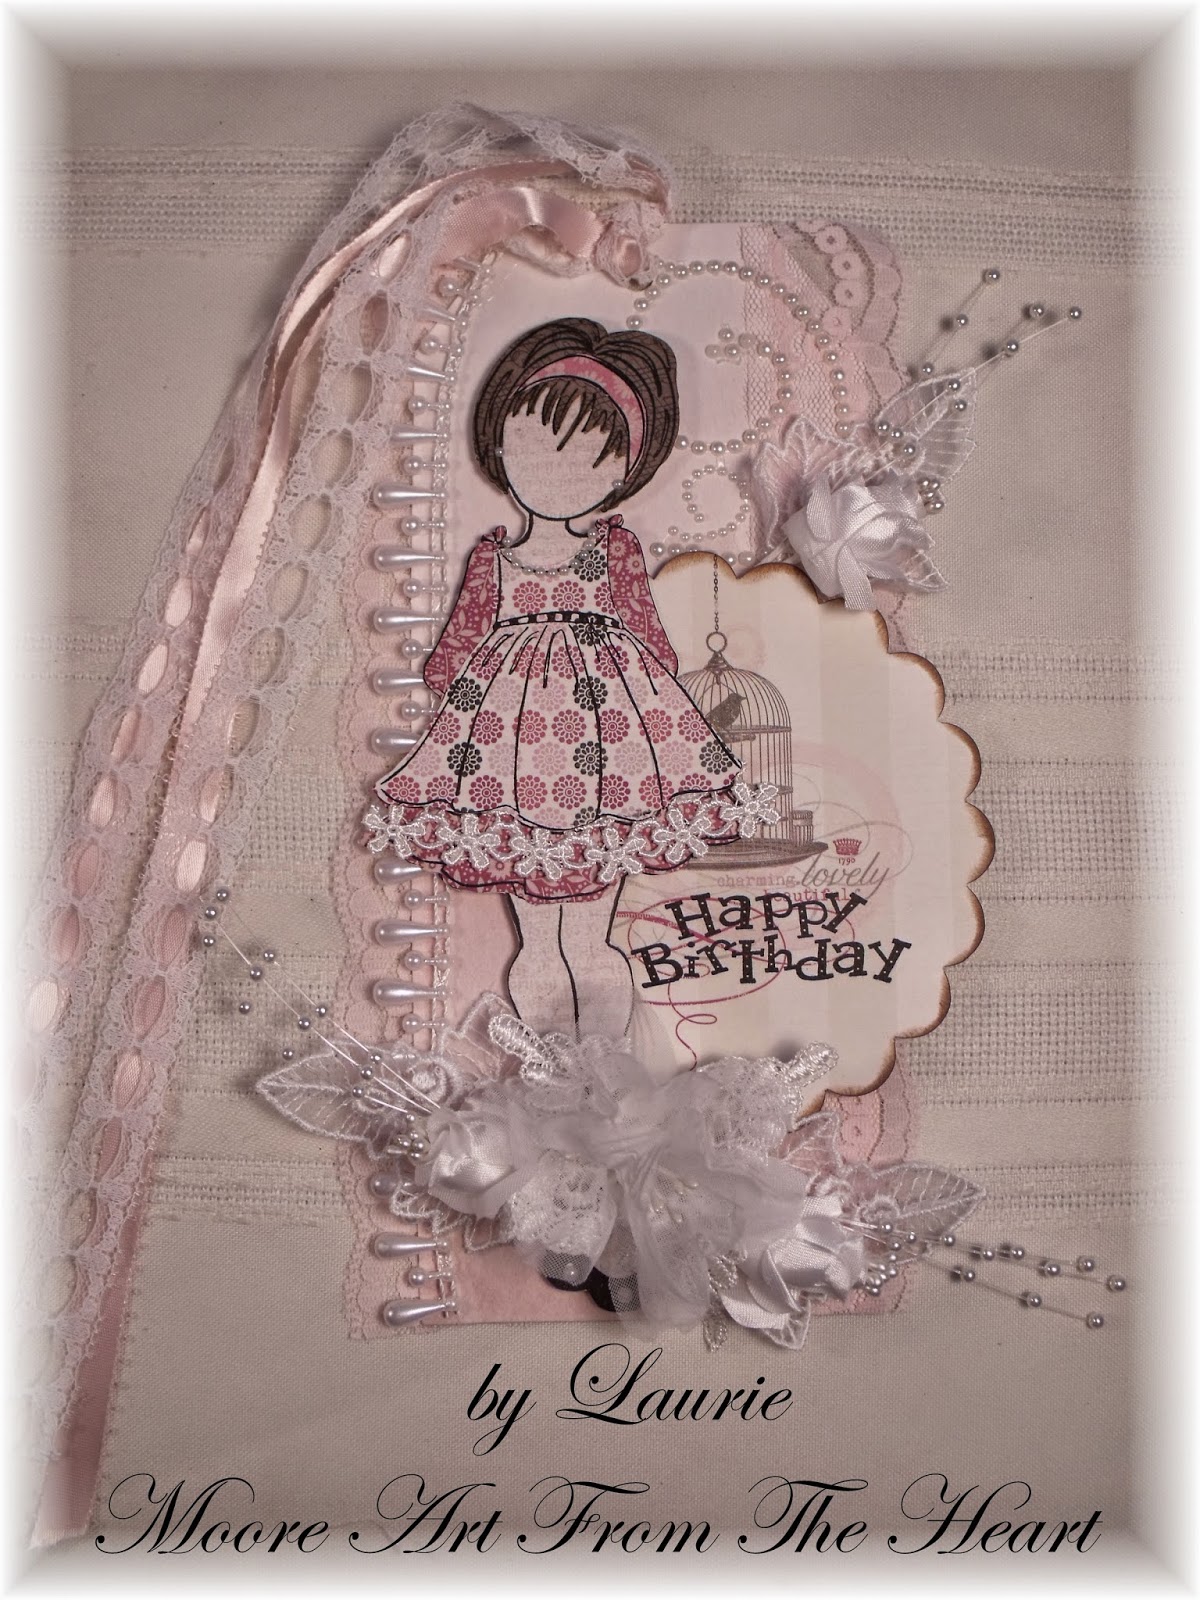
I have been playing around with the new Julie Nutting Doll Stamps by Prima and the tag pads that go with them. I'm enjoying layering the clothing for the dolls with paper as I'm not very comfortable with me skills of coloring with marks or paints.
Adding lace, bead trim and flowers to the tags, along with a sentiment is the prefect back drop to show off these sweet doll stamps. I also added a pocket on the back of these tags so a gift card could be giving with these them. A gift and card all in one.
I sell some of these doll stamps and tag pads in my Artfrie store. Here's the link....
My Artfire store MooreArtFromTheHeart

I would love to read your comments.
Thank you for visiting me,
Laurie Moore