Wednesday, August 15, 2012

Dresser Drawer with G45 Little Darlings Collection


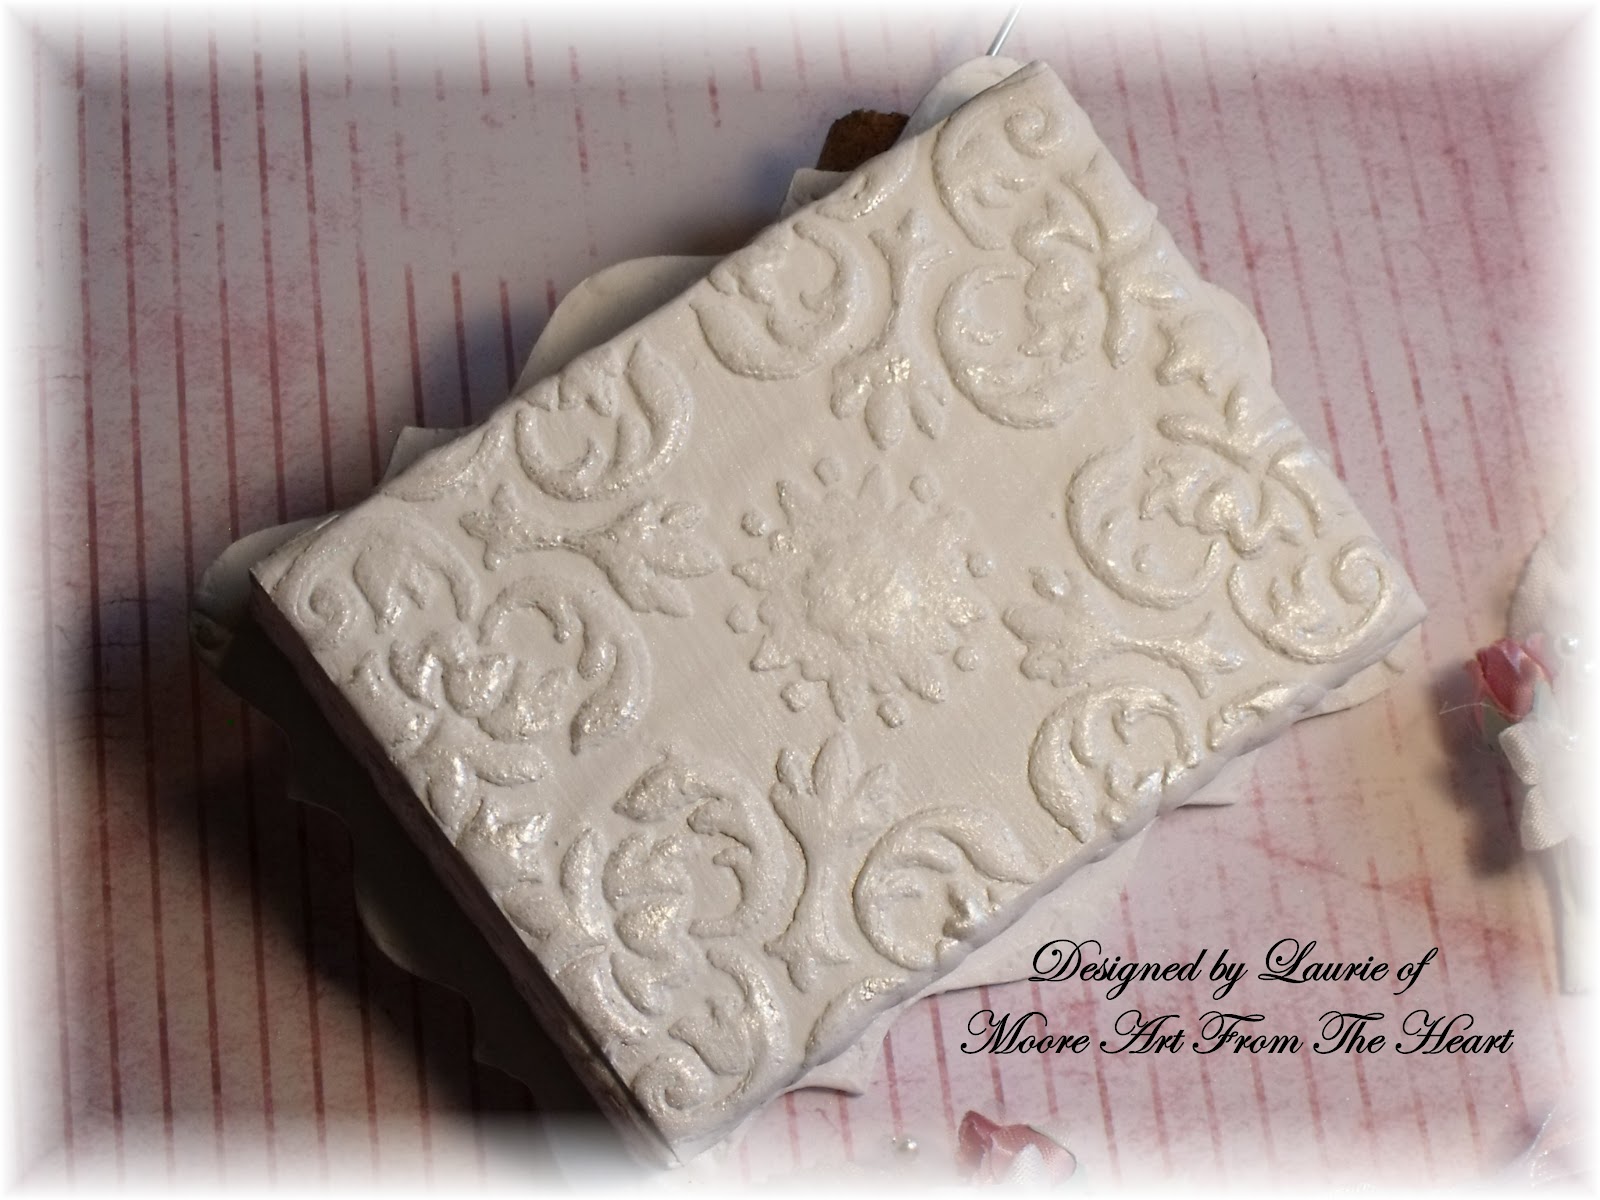
I’d like to share  with you my Dresser Drawers I’ve made using  paper from Graphic 45 ’s Little Darlings collection. This project was inspired by two other wonderful scrapbookers Anne and Arlene. Please check out their creation on YouTube , the links are below.  I started with  an unfinished wooden drawer set that I bought from Craft Warehouse along with the paper. I took my flat white paint and covered all the areas that would show. Then used my chalk ink to add an aged vintage look. I  cut out the pieces of paper I needed and chalk inked all the edges. After gluing them on I glue lace to the drawers and  added a dolly to the top. I received some die cuts from my sweet friend Jules of the Jule Box  and placed them on the side of the dresser. I painted a small frame and some miniature ABC blocks to add to the top. I used roses from I am Roses and some flowers and pearls  from my own ArtFire store. Placing the flowers in a sheer ribbon bow  on top of the dresser added a little something extra. I found a small pair of doll shoes that were just perfect to add to this project. There’s a sheet in this collection of paper that has small little baby portraits on it which is what I used in the frame.  I put together knobs using a jewelry  pin, bead caps, and bead pearls. I think this Dresser will make a sweet baby gift and a place to keep all those tiny treasures you keep of your baby like the hospital bracelet , locks of hair and so on.

Remember to check out Anne's channel xannero and Arlene of  ButterflyKisses
My Artfire store  www.MooreArtFromTheHeart.Artfire.com

Tuesday, August 14, 2012

Shabby Chic Vase and Picture Frame


I found these two cute little glass vases at a second store and thought how fun they would be to decorate. Check out my YouTube video on what I used and how I put them together,  just click on the link at the right or go to YouTube and type in MooreArtFromTheHeart.  The flowers I’m using are sold in my ArtFire store which has a link to the left on this page.
I started with the making the flower sprays. Taking apart the flower pics to use what pieces I needed, I then used floral tape to wrap them together. To fill the glass vase, I snipped the rose bud heads off three sprays for a total of 36 rose buds. You could use more or less depending on the size of your container. I wanted to add a little things sweet to the rose buds so I place a string of pearl inside too. Adding layers of ribbon and lace to the flower sprays gave them a soft elegant touch.
For the picture frame I used a chip board 3D frame that I bought at a craft store. I glued in the center a piece in paper from the collection Vintage Shabby from Tim Holtz and added lace inside around the edges. I took a piece of textured wall paper I had left over from a remodel to cover the back. Yes, I said wall paper. You can use different kinds of papers in your project as long as they don’t come in contact  with you photos. The front of the frame was textured using wall spackle. The front and back were then painted with Crafters Acrylic paint. I used Perfect Pearls to give the raised areas of the wall paper and the textured front of the frame a soft sheen. Fiber string, lace, ribbon, and flowers were then added to help it coordinate with the vase. 

Sunday, August 12, 2012

Shabby Chic Decorative Box


Here’s a look at a large round chipboard box with lid that measures 7 inches tall and 5 inches across that I purchased from Craft Warehouse and decorated in a Shabby Chic style. I used papers from the collection, “London Market, Rare Finds & Curiosities”. The sheet I use the cover the box is Notting Hill from the collection. I first painted all the edges of the box with flat white paint and then to give it an aged look using a fluid chalk ink from Color Box called Chestnut Roan. I took some white roses that I got from Wild Orchid Crafts and sprayed them with Tattered Angels Glimmer Mist in a combination of different colors. I added pearl strands and flowers from my ArtFire store. I then glued on some old antique lace to the bottom and top edges along with a bow on the top. To help open it I've added a black pull knob on the lid and a small key along with a few butterflies for fun. I plan to sale this at the Christmas Bazaar I’m doing this year 2012.
Hugs and many Smiles,
Laurie

Wednesday, June 6, 2012

Pearl strands


Here’s a look at some of the new products I’ve added to my ArtFire store under the category “supplies”. Just click on the link to my store on the left of this page.

Just added to my store these lovely strands of both white and ivory pearls.
These 7 inches long strands of pearls come in bunches of 12 and you will receive two bunches with each order. They are each on there own wire so they can be separated to use in your craft projects. Sale price two bunches for $1.00

For ideas on using them on your craft projects check out my YouTube Channel…..
www.YouTube.com/user/mooreartfromtheheart

Pink Rose Buds

Here’s a look at some of the new products I’ve added to my ArtFire store under the category “supplies”. Just click on the link to my store on the left of this page.

Shown here are the small pink Rose Buds. With your order you will receive two bunches of rose buds. Each bunch has 12 rose buds so you will get 24 rose buds in all. These 1/2 inch pink rose buds are fun to use in your craft projects. They are made of a ribbon type material. They are like the type of flowers you find in the wedding decorating section of your craft supply stores. Each stem has two rose buds on wires and floral taped together so they could be separated if needed. Sale price 2 bunches for $1.00

For some fun ideas on how to use these roses check out my channel on YouTube ….
www.YouTube.com/user/mooreartfromtheheart

Saturday, June 2, 2012

Vintage Shabby Chic Birdcage


Hi My Friends,
Here’s a look at a vintage birdcage I recently decorated. I had bought a dozen wooden roses which I had never tried to use before. I needed their color to be a bit more muted for a shabby chic look so I painted them with white Crafters Acrylic paint. I added lace, ribbon, crystal sprays and leaves to complete the look. Inside the cage I made a nest out of Spanish moss spray painted with a white wash of acrylic paint and water. Added picks of crystals and small beads, along with a ceramic bird I hot glue to the peach. This nest sits on a bed of tulle ribbon. 
If you would like to see how this was all put together then visit my YouTube channel MooreArtFromTheHeart. You'll find a link to the right of this page.

Wednesday, May 9, 2012

My Cards


Hello Friends,
Here’s a couple of cards I made for a birthday coming up and Mother’s Day. I used roses from “I am Roses”, an antique dolly, pearls strands, tulle, ribbon, and lace . The  paper was from a couple of different paper packs, one was DCWV “The French Country Stack”, second one was Jodie Lee designs “Nature Garden”, and another was DCWV “The Botanicals Stack”. I will be adding Happy Birthday with the persons names to the front of two of the cards that are blank. Can’t show them yet or they won’t be a surprise…hehe.
Thanks for peeking in on me and don’t forget to check out my Facebook page and YouTube channel from links here on my blog.

Tuesday, May 1, 2012

Mother's Day Gift idea

 Here's an idea for a Mother's Day gift. Order yours today.
I've created this new box with a unique design to view your keepsakes. The top has been designed to place items in and view them through the clear plastic acetate sheet attached to the top. The Memory-With-A-View box is larger than a regular photo box with 11½ inches in length and 9 inches width and 6 inches tall, (add another inch for the legs) makes this a nice size to store your keepsakes or pictures in. Some embellishments added are Tim Holtz metal legs, metal corners, along with ribbons, flowers, and handmade butterflies add unique textured touches.

These and other are for sale in my ArtFire store... MooreArtFromTheHeart. Click on the ArtFire link to the left.


Tuesday, March 20, 2012

5 Easter Eggs All Done


I finished the five Easter Eggs for my Grand-kids. To see the pictures of all five you'll need to watch my YouTube video.
Here's some of the things I used to create these fun Eggs. I bought five 10 inch plastic Easter eggs from the Dollar Tree. I used papers from two packs made by Die Cut With A View, one in pink and the other in blue. The paper is a fabric adhesive backed paper which works great to stick down on the plastic bottom of the egg. I cut small triangles from the paper and created a patchwork look. I covered the seams with ribbons and finished off the edges with lace. For the top I used Wild Orchid Roses along with some others from my stash. I cut pieces from a spray from Ashland products that I bought at Micheal's Crafts. I added lace and ribbons.
These were fun to make and I hope my Grand-kids like them, although I think the candy inside will be more of a hit.
Thanks for checking out my blog and watching my video.
Laurie

Friday, March 2, 2012

Easter Egg


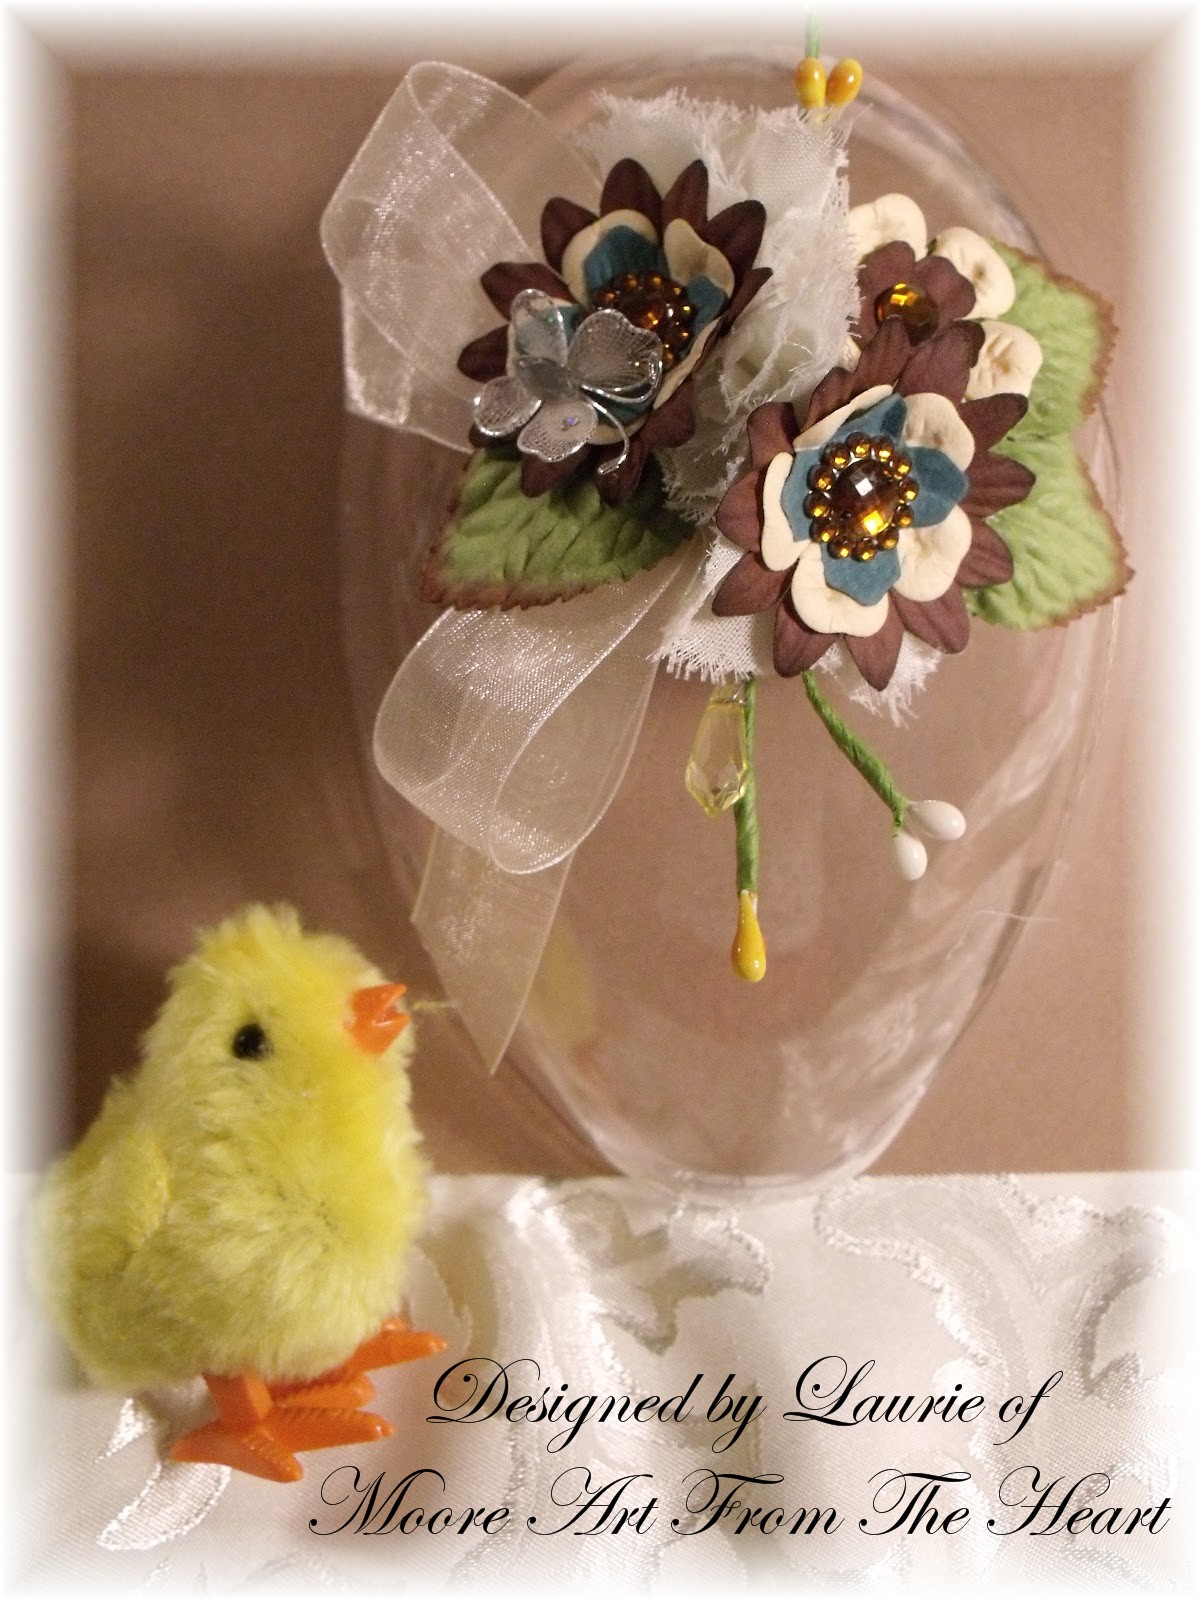
Here's a fun way to add a little pizazz to your Easter Egg gift. I took a dollar store plastic egg and decorated it with adhesive fabric paper and flowers. Check out my YouTube video showing what I used to make it. Become a subscriber of my YouTube channel so you don't miss my next project.
http://www.youtube.com/user/MooreArtFromTheHeart