Friday, December 20, 2013

Blue Baby Shoes

Here's a look at a few of the baby shoes I put together for a baby shower. These 10 shoes are for a custom order from my Artfire store Moore Art From The Heart The picture below shows just a few of the pieces used in the arrangement. Using antique baby shoes that I altered gave the arrangement a vintage cute look. These will make great table decorations and then gifts for the guest.

Check out the video I did showing how these were put together. My link to my Youtube channel Moore Art From The Heart Youtube
Thanks for stopping by. Please become a follower.
Laurie Moore

Tuesday, December 10, 2013

Baby Steps


 Here's a look at some baby shoes I altered. As you can see from the picture above, I started with old baby shoes that I picked up on one of my travels to Missouri. All the shoes came tucked down in a large square jar. There were a total of 10 shoes in all. There is nothing more exciting to me then to take a trip Antique Junking and score goodies like these adorable finds. Let me tell you it wasn't easy getting that jar of shoes squished into an already very full suitcase but I did it. If I had to leave clothing behind, those shoes were coming home with me. lol
I first started by painting them all with white gesso and then using a emery board to sand back off some of the gesso in places to make them look worn again. I then used glitter and spray to give them that little bit of Christmas sparkle. Filled them with greenery and small treasures.
Please visit my youtube channel to see more on these sweet baby shoes. Also find some of these cute Christmas treasures in my Artfire store.
Thank you, Laurie

My Artfire Store....Baby Shoes
My Youtube Channel .....


Friday, December 6, 2013

Sweet Tussie Mussie's


The word “Tussie-mussie” is a quaint, endearing term from the early 1400s for small, round bouquets of herbs and flowers with ­symbolic meanings. Because the flowers usually came in a cone shaped container now days we tend to call the cone it's self a tussie mussie. No matter what you call it Tussie Mussie's are fun and easy to make. I first created a floral spray of greenery, flowers, a vintage photo and a few other goodies all placed together and then wrapped with florist tape. By creating a floral spray like this, the arrangement holds together in place when the cone is moved around, like when it's hung on a door. The floral arrangement also can be removed and other goodies can be added or change out the arrangement for a different holiday themed one.
I have a video also showing how I put together these sweet Tussie Mussie's. Take a look... SweetTussie Mussie
Your comments are welcomed here,
Hugs Laurie

Tuesday, December 3, 2013

Oh! Christmas Tree


Here's how all three trees looked when finished and set in my center piece (minus the sleigh which was to big). Scroll down to the post showing some of the steps to creating these trees. Watch a tutorial video on my Youtube channel showing you how to create your own. Happy Holidays My Friends.
My video link.... Oh! Christmas Tree!
Many Hugs, Laurie

Monday, November 18, 2013

Thankful for You

I love being with my Grand kids. This picture was taken on my recent trip to see my sweeties. They enjoyed playing in a piles of leaves on this warm fall day. I’m adding this layout to “Once Upon a Sketch ” challenge.  The theme is “My Happy Place” which is anytime I’m with my Grand Kids for me.


I’ve never worked with this color combination before. It’s not your typical fall color palette but I like the way it came out. My inspiration came from “ Creative Embellishments” beautiful  fall photo and challenge. I choose to use one of their gorgeous chipboard flourishes below the sweet picture of my Grand daughter.

The Inkido challenge this month is to use string, thread or yarn in your layout. I used cheese cloth for a stringy soft accent along with blue eyelash yarn also I've used my sewing machine to stitch in places on this layout.


 In my online ArtFire shop I carry Prima's Junkyard Findings. The Zipper Pull and Typo Bulb shown here in my layout are just a few of those I sell at MooreArtFromTheHeart.artfire.com

Thank you for coming by and checking my work out. Your comments are welcome also.
Laurie

Monday, November 11, 2013

Christmas Tree

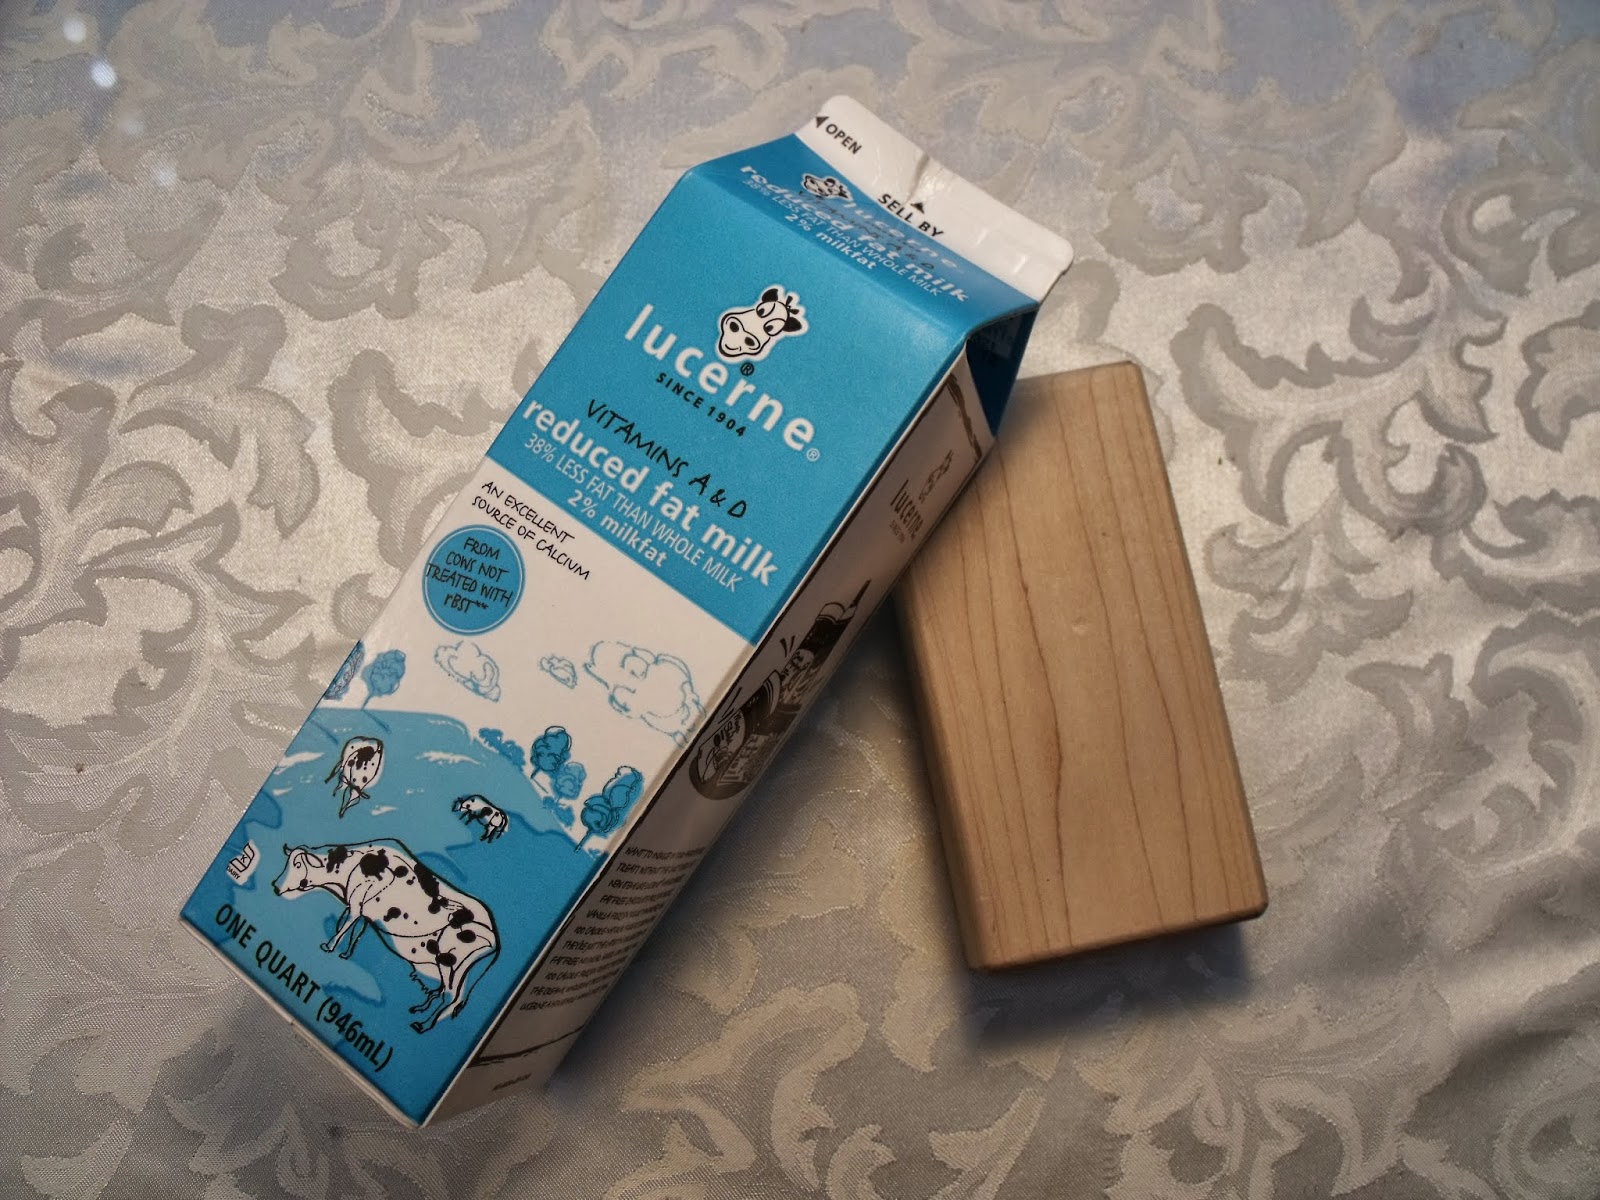
Well here it is the middle of November and I'm starting my Christmas projects. I've had these chipboard tree cones in a set of 3 for about 5 years now and decided it's time to do something with them. They are in graduated sizes from small to large, all with chipboard bases and a wooden dowel to attach the two pieces together. Below here you can see I have already covered the base to the small tree with burlap, twine and rusty bells.
I then pulled out a Christmas pack of paper and three different sizes of snow flake punches to cover the cones. I bought a rusty star garlands and rusty star toppers at Hobby Lobby last year.... I love rusty stuff!! I added some pretty white pearls here and there to set it off. 

The tall one is finished and now to finish the other two. My video on how I put together these trees should be on my youtube channel soon. Link below. Thank you for stopping by.
www.youtube.com/user/mooreartfromtheheart
These trees will be available for purchase in my ArtFire store.... www. MooreArtFromTheHeart.artfire.com


Saturday, September 21, 2013

Graphic 45 Sept Challenge

      Graphic 45 Facebook page link to vote


This is my entry for the Graphic 45 Sept Challenge. The challenge was to Upcycle a house hold item in either a Autumn or Halloween theme. I had a lot of fun with this one. I created a haunted house table decoration. I used a one quart milk carton for the haunted house and children’s blocks to create settings for the letters that spell out “Haunted” with the house for as the “A”
Voting starts Sept 23 on Graphic 45 Facebook page. Have some fun and check out all the entries, vote by clicking the “like” on the project you want to win.
Thanks, Laurie

Wednesday, September 4, 2013

"A Ladies Diary" Graphic 45 card


 This card was made using Graphic 45 paper "A Ladies Diary" one of my favorite paper collections. On the front I cut out one of the lovely images from the collections added layers of lace, flowers and a book plate from Tim Holtz collection. This card is going to be used as a special gift my sister will be giving to a friend of hers. She wanted it to also have places for pictures so I created tags in pockets that she can pull out and add photos and a special note to both sides of the tags. I have a video on my YouTube channel showing more on how I put this card together.... Youtube.com/user/MooreArtFromTheHeart
Also thanks to Jules of The Jule Box for the gift of the lovey big chipboard Tags.
Come be my friend on facebook.... Laurie D Moore
Check out the items I sell in my ArtFire store..... MooreArtFromTheHeart.Artfire.com
Have a great day!

Thursday, August 15, 2013

"M" for Moore Mixed Media


Here's a look at a large 12" tall letter "M" that I had fun adding many objects to it and spays. I've been so fascinated with all the cool projects and layouts out there using lots of objects artfully arranged then painted with Gesso and then sprayed with some of the great mists, paints and inks sold today. There are a few works of art from some talented ladies that I admire that gave me inspiration to try this form of art. Anna Dabrowska also know as Finnabair, is a master of this technique. There's also Miranda (MsLiberty25) who always puts just the right twist on her projects. Bonnie of Sassyscrappers adding objects to a letter and made it look so fun that I thought Yes I could try a letter too! Here's what I came up with. What do you think?
Thank you for peeking in me. I would love it if you would become a follower of my blog. Have a great day!
Hugs, Laurie