Monday, July 7, 2014

Two Beautiful Sweetheart Layout


Hi Everyone, Here's a look at my latest layout. I used some of the wonderful items I received in my Flying Unicorn kit of the month for July. What a delight this kit was with the tons of yummy goodies including scrapbook papers with my favorite color palette.... Pink, Black, Gray and Cream...Oh My!

And if that wasn't enough there was even more to this kit. Check out what I did with these goodies. The boat was really fun to play around with and I added it to my second project....the Friend-Ship. There is so much to this kit that I will be making many more things with it.
There's more pictures and the story behind the Friend-Ship layout/project on my previous post.

Check out the Flying Unicorn kits..... http://www.flyingunicornstore.com/
Link to the July 2014 kit....... http://www.flyingunicornstore.com/category_s/1356.htm

And here is my videos of both layouts...Two Beautiful Sweethearts
Friend-Ship

ALSO I'm so excited to say the Flying Unicorn featured my layout on Facebook...SWEETTTTT!!!
https://www.facebook.com/pages/Flying-Unicorn/120928447946596

Thanks for peeking in on me,
Hugs, Laurie


Wednesday, July 2, 2014

The Friend-Ship

Here's a look at a very special layout of a very special friend, my BFF Melissa. This layout was created with a kit from the Flying Unicorn's Kit of The Month for July 2014. What fun creating a scene with the row boat that came with the kit!
I started with the unfinished row boat. I knew I wanted it to look as though it had been sitting on the beach for a longtime. Still seaworthy and holding up, like the friendship I share with Melissa.
With a little paint and sand paper I achieved the look I was going for. I also took an unfinished wooden round ring and made a Life-preserver with the words "This Life Is Good" on it. You know our friends are the Life-preservers that keep us a float.... I know mine do.
I then took a 9"x12" flat canvas and a 12"x12"x 1'' canvas to create a base and back drop. With crumbled up brown paper, white paint and real sand added, the base was ready.

Next came the fun part adding all the embellishments. Beads, a fence, the boat, a few star fish and sand dollars like the ones Melissa and I collected that day on the beach.
               Great memories!  Good Times!
Now for the canvas layout. With texture, paper, paint and some sand the layout was ready to tell the story of the great friendship that we share and the adventures we go on. The small words under the title say it all.... Our Friendship Make Me Happy Everyday! Thank you Melissa for that.


Thank you all for stopping by. Please become a follower. Also check out the Flying Unicorn for great ideas and kits.
Thanks, Laurie Moore
Links...https://www.facebook.com/pages/Flying-Unicorn/120928447946596
Links....https://www.youtube.com/user/MooreArtFromTheHeart
Links....http://www.artfire.com/ext/shop/studio/MooreArtFromTheHeart
Links....https://www.facebook.com/mooreartfromtheheart


Sunday, May 18, 2014

Doll Stamps and Tags

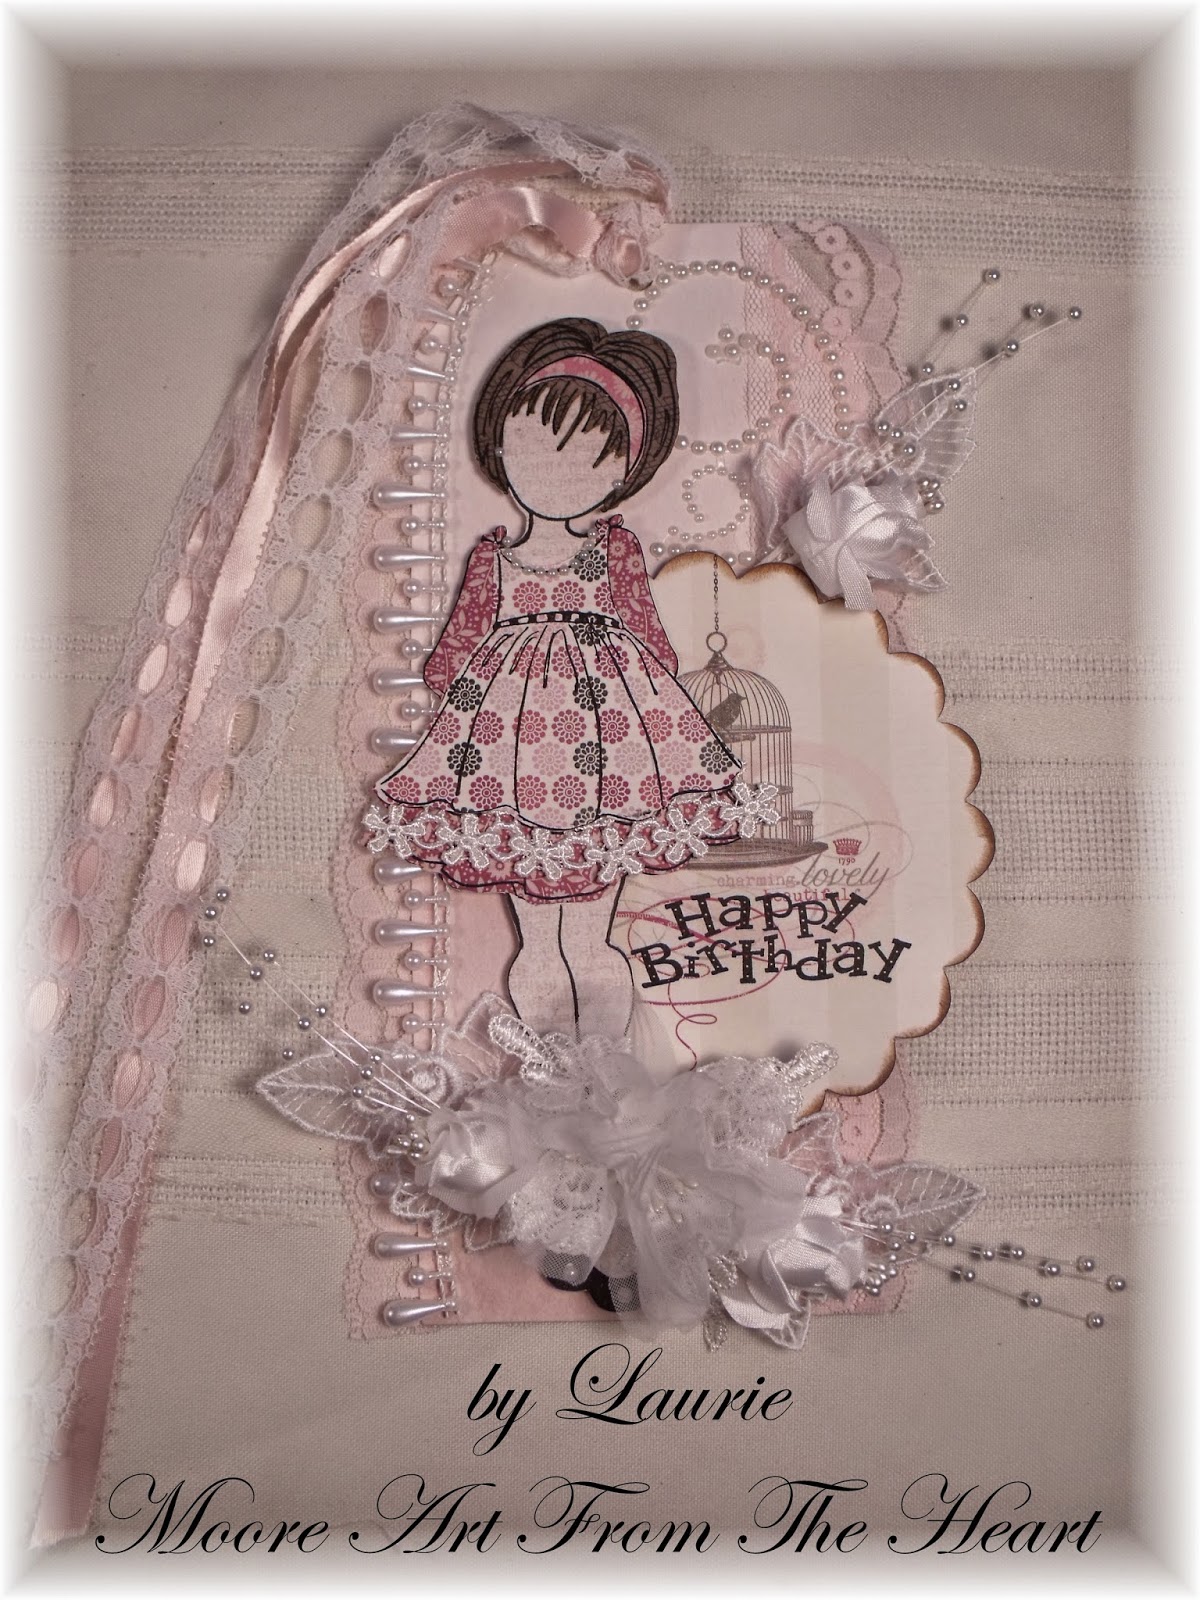
I have been playing around with the new Julie Nutting Doll Stamps by Prima and the tag pads that go with them. I'm enjoying layering the clothing for the dolls with paper as I'm not very comfortable with me skills of coloring with marks or paints.
Adding lace, bead trim and flowers to the tags, along with a sentiment is the prefect back drop to show off these sweet doll stamps. I also added a pocket on the back of these tags so a gift card could be giving with these them. A gift and card all in one.
I sell some of these doll stamps and tag pads in my Artfrie store. Here's the link....
My Artfire store MooreArtFromTheHeart

I would love to read your comments.
Thank you for visiting me,
Laurie Moore

Sunday, April 6, 2014

Lovely Lady Tin

Here's another altered tin. I think I'm addicted to alcohol ink.. hehe I love the way the alcohol ink gives the tin an old vintage look. I've taken a two piece silver tin an altered it to look like a shadow box. Filled it with tiny treasures.  
Please become a follower if you enjoy my posts. Thank you

Check out my youtube channel for a video on putting together these fun vintage shadow box tins.... Moore Art From The Heart on Youtube


Saturday, April 5, 2014

Old Tin Shadow Box

I was inspired by Tina Walker to try my own tins from a project she did and showed on her blog, her link is below. I love the look of something old and vintage. This shadow box started out as a 4" x 3" metal tin I picked up at our local craft store. Using an Inkssentials 4 1/4" x 51/2"sheets of Foil tape with my embossing folder from The Paper Studio "A2 Gears", I ran it through my embosser and created the gears texture that I placed on both the lid and back of the tin.  I then added three different colors tones of brown Adirondack alcohol inks to the foil and inside edges of the tin. Heat set it. I then pulled out three colors of my Melt Art ultra thick embossing enamel by Ranger and added a cool melted texture to the foiled areas. I give the whole piece a spray with a sealer and begin adding paper and fun vintage objects to the inside and out of the tin. Check out my video (link below) to hear more on how I put this together.


Thanks for stopping by and please leave a comment on what you think about this project.
Laurie Moore
Links... Tina Walker... http://frogdogstudio.blogspot.com

Links....My Youtube channel.... https://www.youtube.com/user/MooreArtFromTheHeart/videos

my Artfire store for supplies and more...http://www.artfire.com/ext/shop/studio/MooreArtFromTheHeart


Thursday, March 6, 2014

The Fairy and the Door Mouse

There once was a Fairy named Crysta-bell who befriended a wee little Door Mouse. She lived in the hidden garden of Myrtle Creek in tiny little stone house.   
The humming birds drink sweet nectar, as dragonflies flutter about. Lady bugs visits the garden enjoying the flowers no doubt.
The sun rays always beams from above, as Crysta-bell sits in her garden of Love.

                           Here the Door Mouse has his den and hides a secrete treasures with in.
 With a tug of the door a drawer will appear, in which lies a treasures the fairy holds dear. 
l


A gift for my Granddaughter Crystal, may all your dreams come true. Know you are my treasure and I will always Love You. Wishing you a Happy Birthday with this gift and story, with much Love from your Gramma Laurie

Here's how this story begin with chipboard, gesso, a mask and sprays to create a tiny fairy house.
Then with cream colored paint and a small brush, a look of mortar was added between the bricks. 
 Thank you for peeking in on Crysta-bell and sharing her story
 and as always have a great day from Laurie